


Game Information
MCG
| fourth Quarter | |||
|---|---|---|---|
| Time | Team | Play | Score |
| 31:41 |  | S. Wicks Behind | 67 - 58 |
| 21:39 |  | T. McDonald Goal | 67 - 57 |
| 18:13 | | B. Fritsch Behind | 61 - 57 |
| 14:51 | | C. Mills Goal | 60 - 57 |
| 9:57 | | C. Spargo Goal | 60 - 51 |
| 3:32 | | Rushed | 54 - 51 |
| 0:19 | | C. Sinclair Goal | 54 - 50 |
| third Quarter | |||
| Time | Team | Play | Score |
| 28:10 | | T. Papley Goal | 54 - 44 |
| 23:38 | | J. Lloyd Goal | 54 - 38 |
| 21:14 | | T. McDonald Goal | 54 - 32 |
| 8:46 | | T. McDonald Goal | 48 - 32 |
| 6:51 | | B. Brown Goal | 42 - 32 |
| 4:42 | | W. Hayward Goal | 36 - 32 |
| 2:58 | | T. Papley Behind | 36 - 26 |
| second Quarter | |||
| Time | Team | Play | Score |
| 23:28 | | Rushed | 36 - 25 |
| 22:41 | | Rushed | 35 - 25 |
| 20:21 | | K. Pickett Behind | 35 - 24 |
| 16:44 | | T. Papley Behind | 34 - 24 |
| 11:11 | | C. Petracca Behind | 34 - 23 |
| 10:38 | | M. Gawn Behind | 33 - 23 |
| 9:24 | | Rushed | 32 - 23 |
| 7:42 | | C. Petracca Goal | 32 - 22 |
| 6:38 | | W. Hayward Behind | 26 - 22 |
| 4:42 | | B. Brown Goal | 26 - 21 |
| 2:47 | | Rushed | 20 - 21 |
| first Quarter | |||
| Time | Team | Play | Score |
| 27:39 | | T. Hickey Goal | 19 - 21 |
| 21:18 | | Rushed | 19 - 15 |
| 18:59 | | B. Brown Goal | 18 - 15 |
| 15:09 | | J. Melksham Goal | 12 - 15 |
| 11:14 | | T. Papley Behind | 6 - 15 |
| 9:02 | | Rushed | 6 - 14 |
| 7:15 | | T. McDonald Goal | 6 - 13 |
| 5:05 | | W. Hayward Goal | 0 - 13 |
| 2:21 | | Rushed | 0 - 7 |
| 0:46 | | J. McInerney Goal | 0 - 6 |
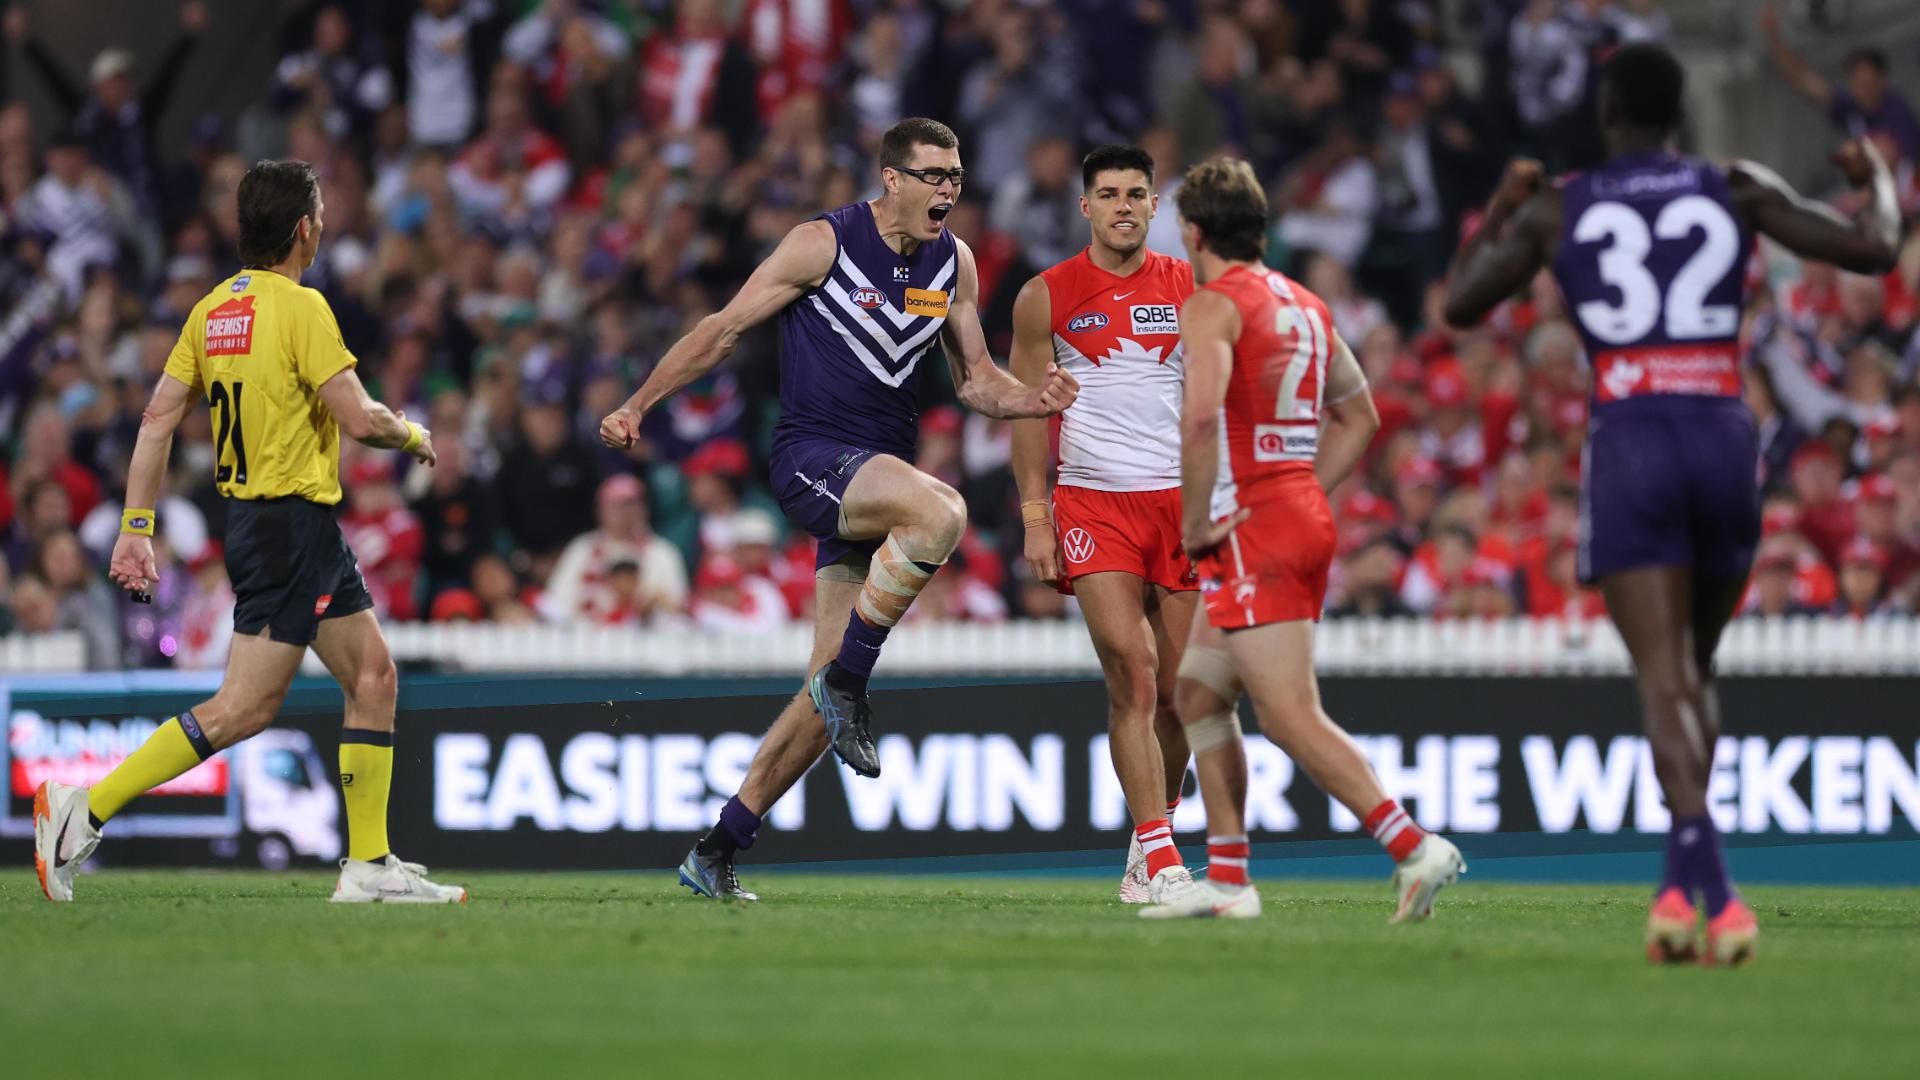
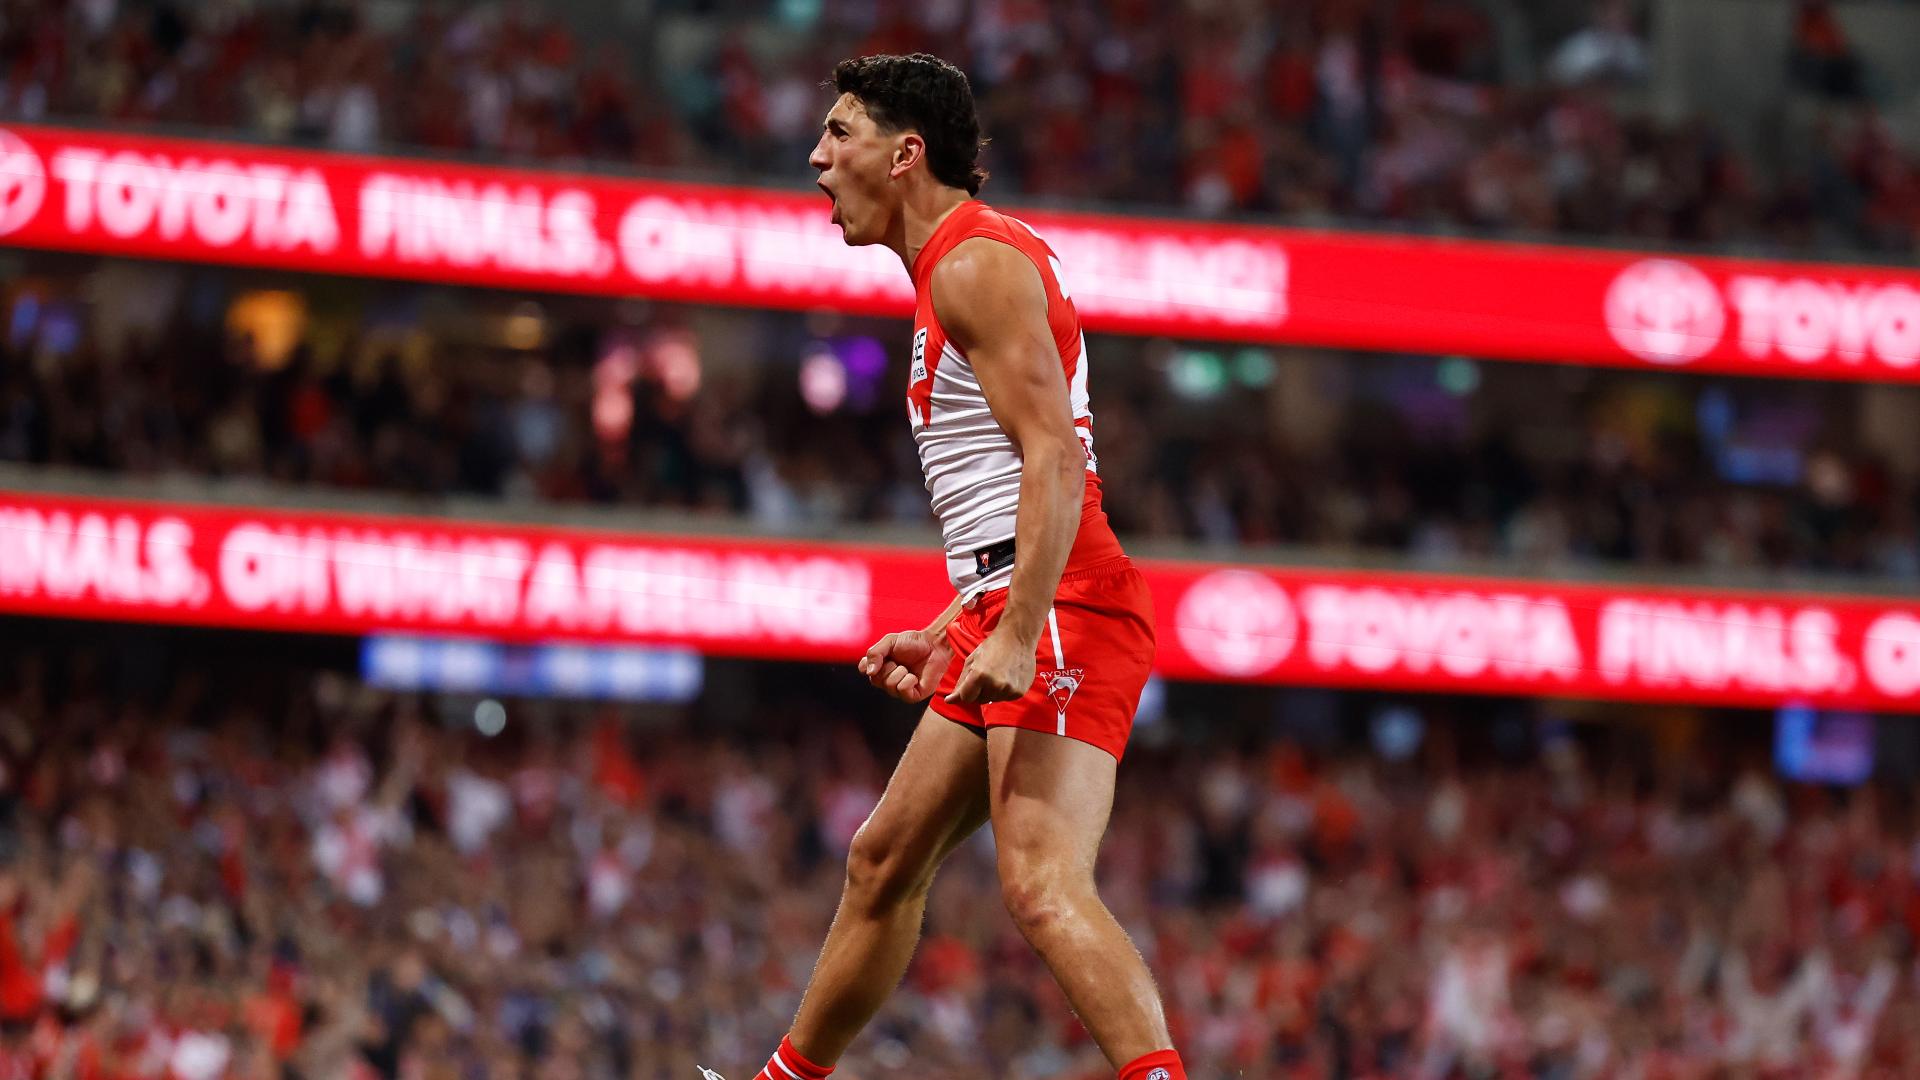
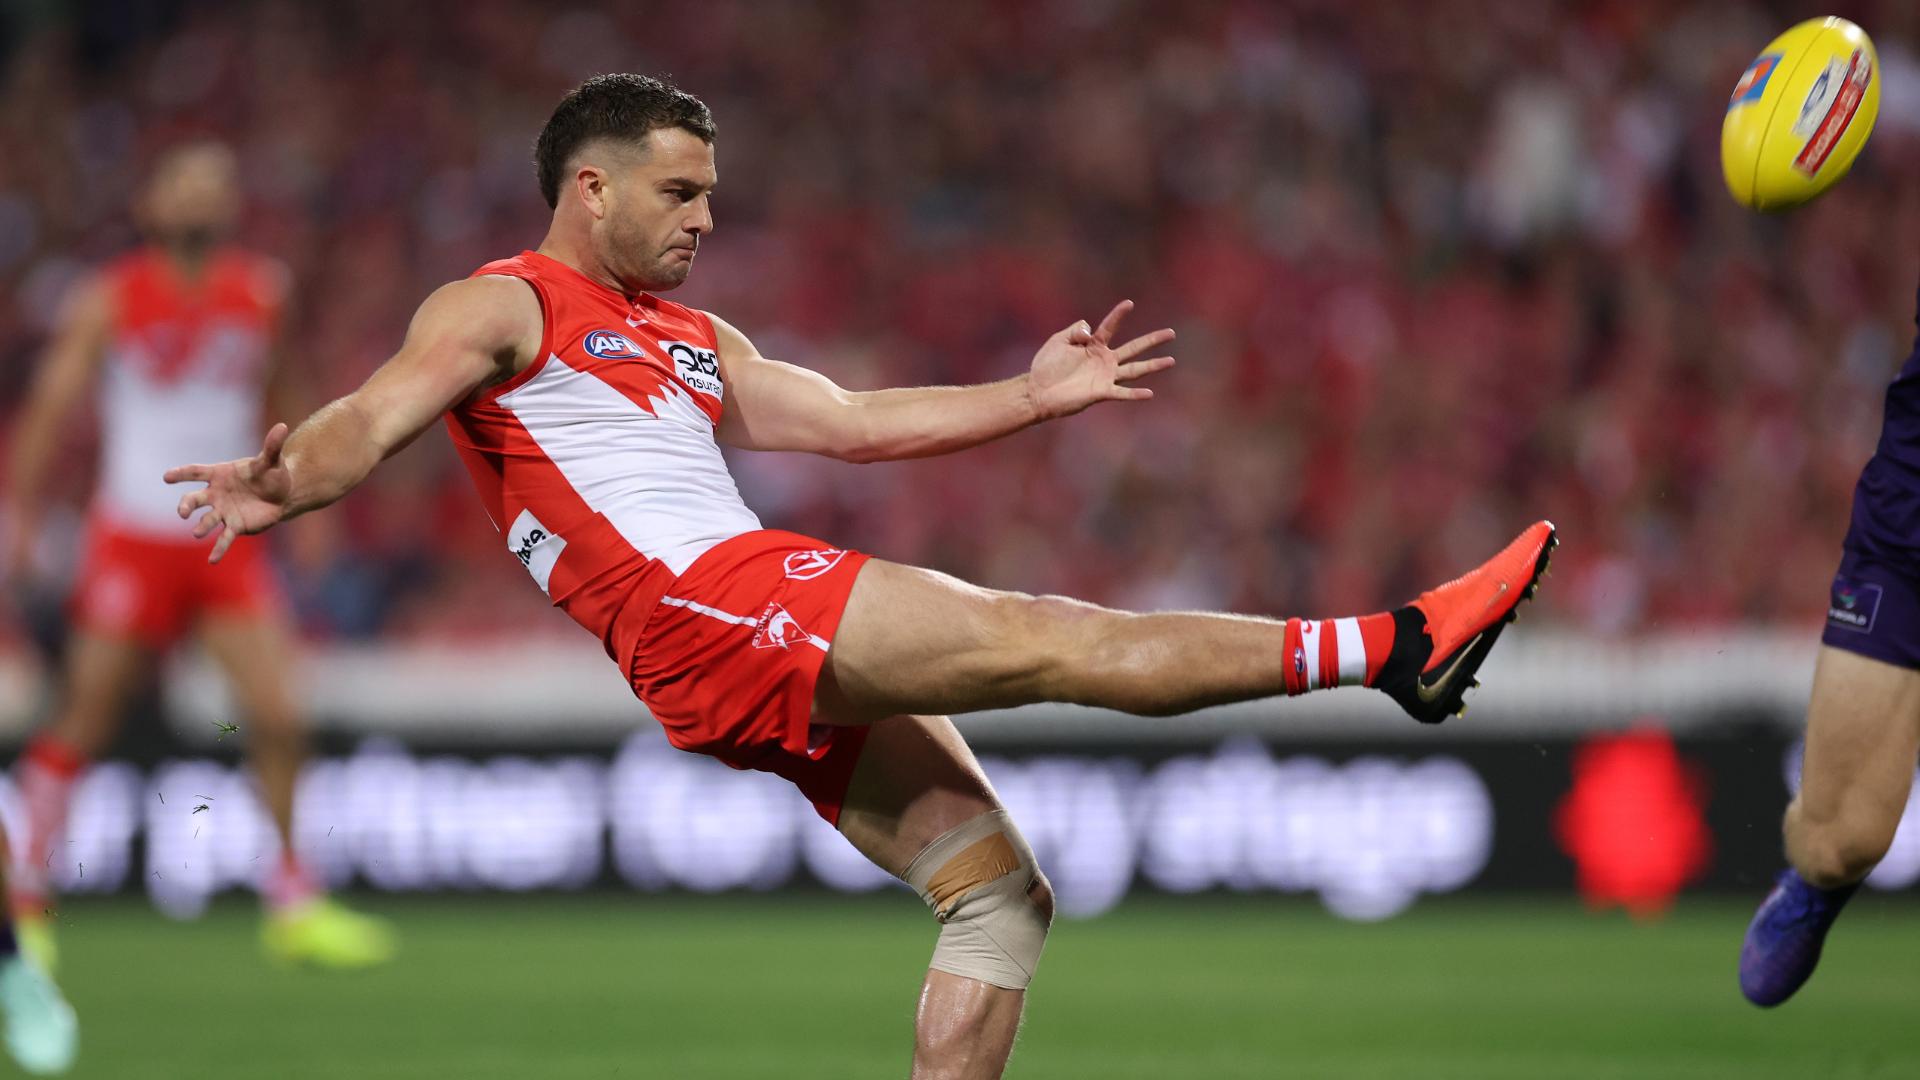
Mason Cox puts Fremantle in front with a clutch mark and goal before Isaiah Dudley seals the comeback win.
Fremantle completed a stunning comeback as Sydney's remarkable finals run fell agonisingly short. Here are three things we learned from Friday night's preliminary final thriller.
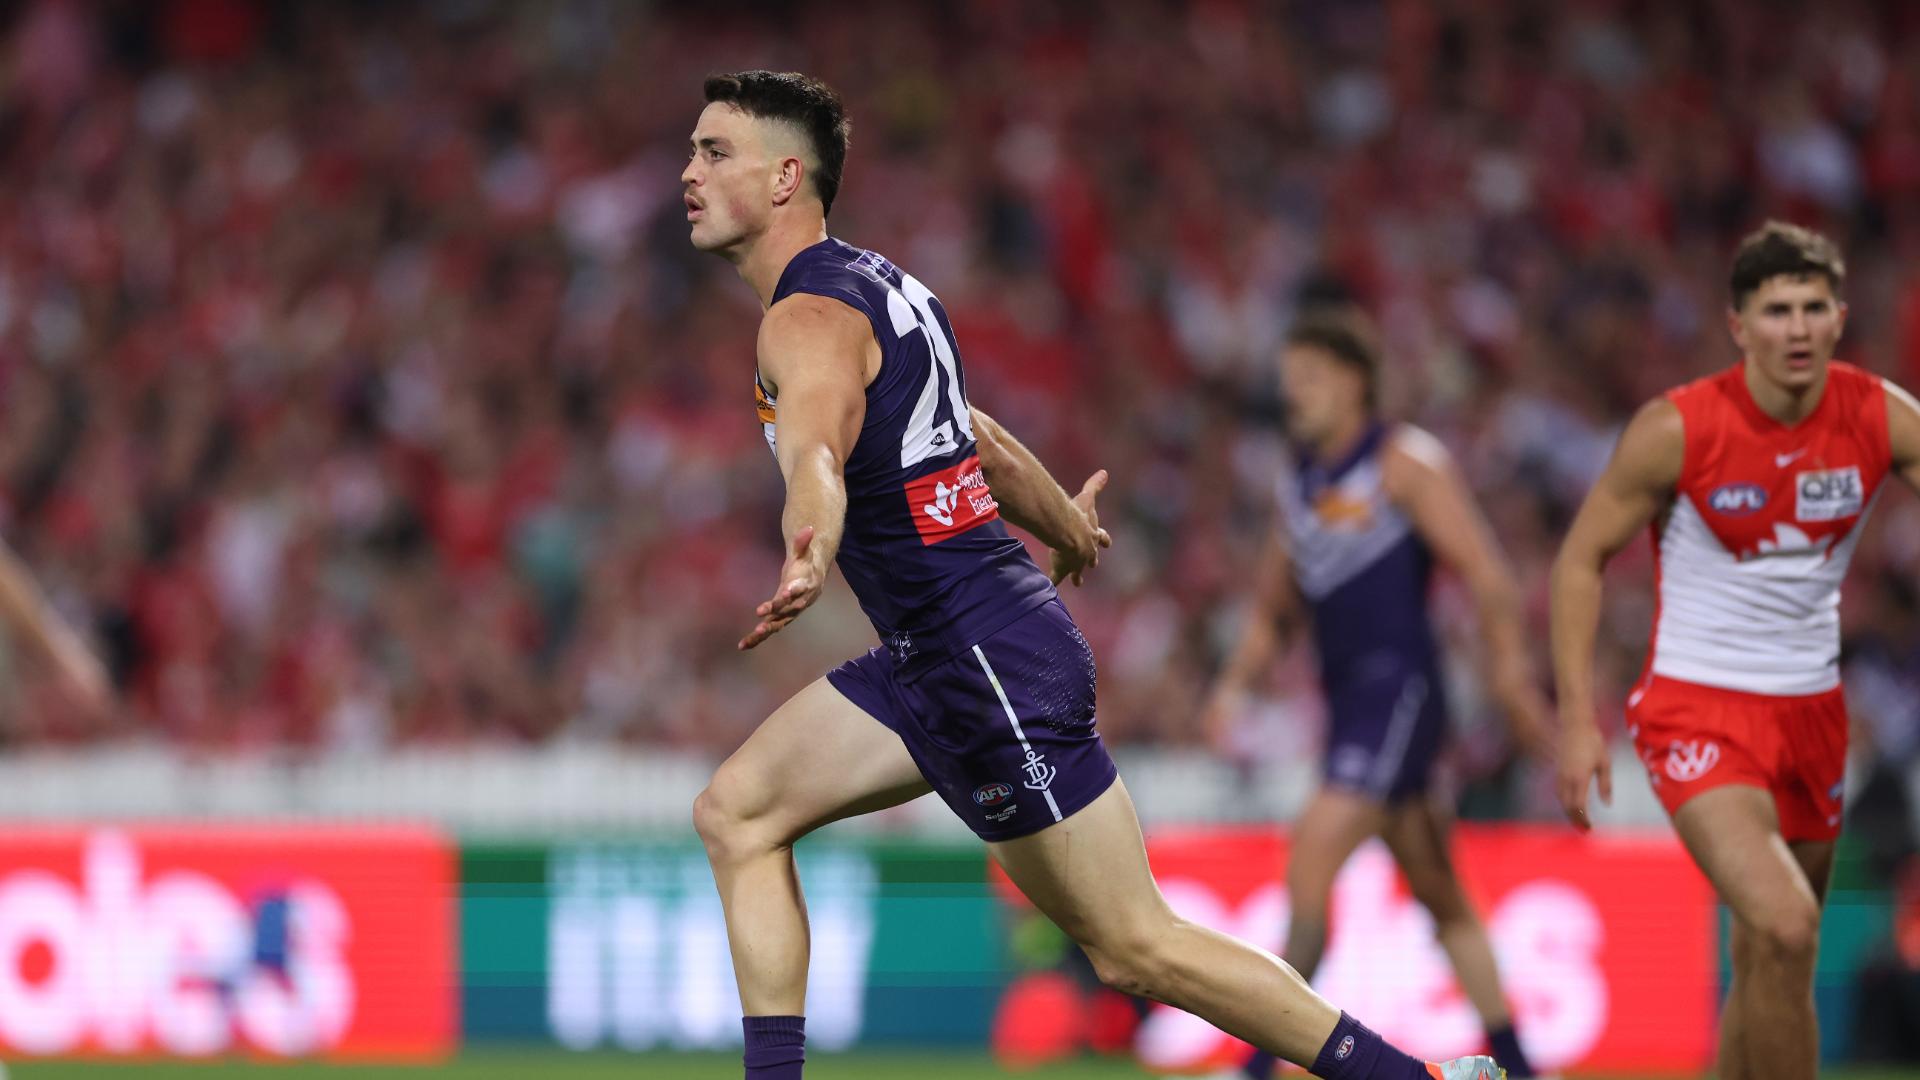
Patrick Voss muscles his way past Dane Rampe with a huge fend-off before nailing a brilliant checkside to cut the lead to nine points.
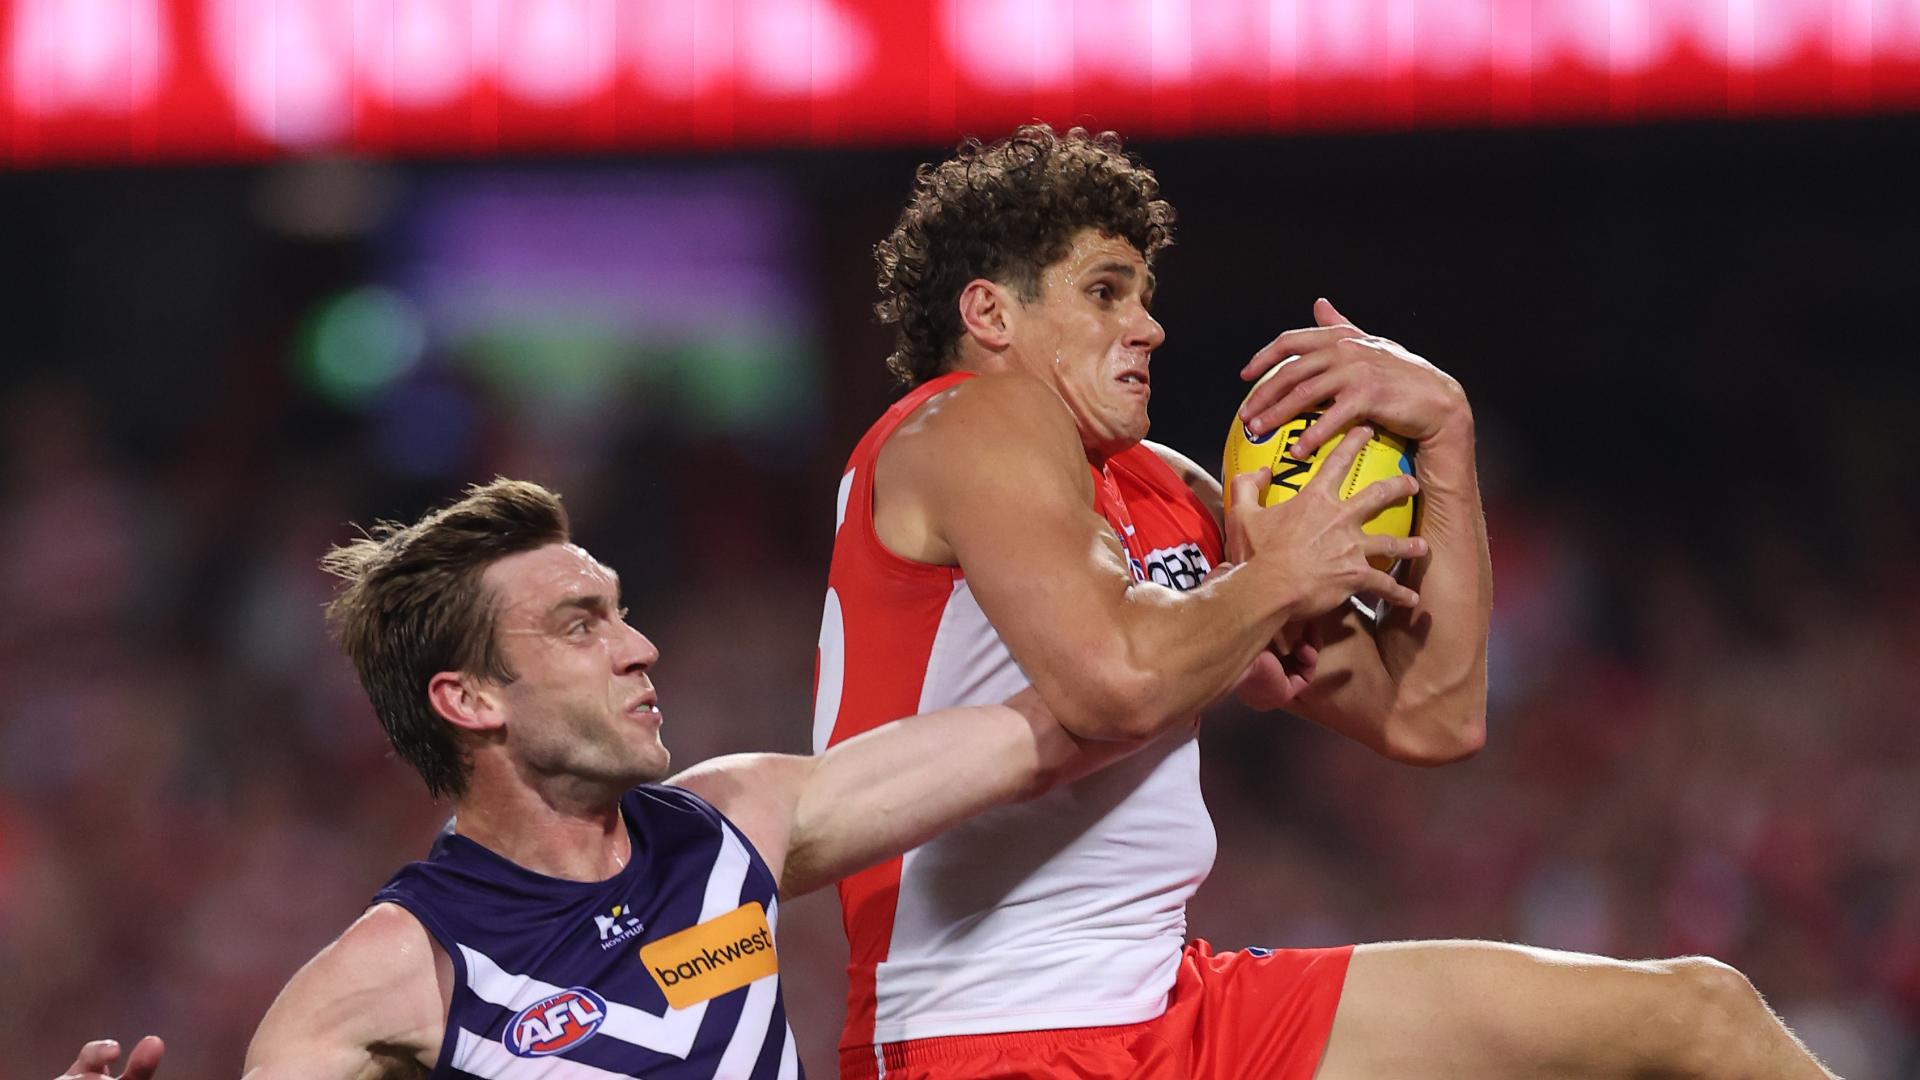
Charlie Curnow takes a big contested mark before calmly slotting the goal to extend Sydney's lead in the third quarter.
Justin McInerney marks his return from a hamstring injury with a beauty from just inside 50 against Fremantle.
Tom Papley gets on the end of a handball after a forward contest and snaps through Sydney's second goal of the game
| POS | Team | Pts. | % | Form |
|---|---|---|---|---|
| 1 |
 FRE FRE
|
76 | 137.2 | WWLWL |
| 2 |
 SYD SYD
|
72 | 136.1 | WWWWW |
| 3 |
 BL BL
|
64 | 121.7 | WLWWW |
| 4 |
 HAW HAW
|
64 | 120.1 | WWLDW |
| 5 |
 GEEL GEEL
|
60 | 122.3 | WWWWW |
| 6 |
 ADEL ADEL
|
60 | 117.3 | LWWLW |
| 7 |
 MELB MELB
|
60 | 109.6 | LWWWL |
| 8 |
 WB WB
|
54 | 95.4 | WLLDW |
| 9 |
 COLL COLL
|
52 | 102.4 | WLWDL |
| 10 |
 CARL CARL
|
50 | 101.5 | WWWDW |
| 11 |
 STK STK
|
40 | 102.8 | WLLWL |
| 12 |
 GWS GWS
|
40 | 98.9 | LWLWL |
| 13 |
 SUNS SUNS
|
36 | 94.5 | LLWLW |
| 14 |
 NMFC NMFC
|
36 | 88.8 | LLWLL |
| 15 |
 PORT PORT
|
28 | 88.1 | LLLLW |
| 16 |
 WCE WCE
|
16 | 69.2 | LLLLL |
| 17 |
 RICH RICH
|
12 | 62.5 | LWLLL |
| 18 |
 ESS ESS
|
8 | 64.6 | LLLLL |