


Game Information
Adelaide Oval
| fourth Quarter | |||
|---|---|---|---|
| Time | Team | Play | Score |
| 29:04 |  | D. Fogarty Goal | 118 - 62 |
| 23:20 | | D. Fogarty Goal | 112 - 62 |
| 22:41 | | D. Fogarty Behind | 106 - 62 |
| 20:48 | | T. Walker Goal | 105 - 62 |
| 17:48 | | N. McHenry Goal | 99 - 62 |
| 14:58 |  | C. Curnow Behind | 93 - 62 |
| 10:50 | | R. Laird Behind | 93 - 61 |
| 9:28 | | D. Fogarty Goal | 92 - 61 |
| 4:31 | | L. Pedlar Behind | 86 - 61 |
| 2:24 | | C. Durdin Goal | 85 - 61 |
| 0:52 | | B. Acres Goal | 85 - 55 |
| third Quarter | |||
| Time | Team | Play | Score |
| 27:27 | | H. McKay Behind | 85 - 49 |
| 26:30 | | J. Honey Behind | 85 - 48 |
| 20:44 | | T. Walker Behind | 85 - 47 |
| 19:03 | | B. Keays Goal | 84 - 47 |
| 16:31 | | C. Curnow Goal | 78 - 47 |
| 14:45 | | B. Keays Goal | 78 - 41 |
| 6:29 | | J. Motlop Goal | 72 - 41 |
| 5:49 | | T. Walker Behind | 72 - 35 |
| 4:02 | | T. Walker Goal | 71 - 35 |
| 2:31 | | Rushed | 65 - 35 |
| second Quarter | |||
| Time | Team | Play | Score |
| 31:57 | | D. Fogarty Behind | 65 - 34 |
| 27:49 | | C. Jones Goal | 64 - 34 |
| 24:11 | | D. Fogarty Goal | 58 - 34 |
| 22:25 | | H. McKay Goal | 52 - 34 |
| 18:10 | | C. Curnow Goal | 52 - 28 |
| 13:12 | | S. Walsh Goal | 52 - 22 |
| 6:23 | | T. Walker Behind | 52 - 16 |
| 5:26 | | Rushed | 51 - 16 |
| 4:57 | | Rushed | 51 - 15 |
| 2:14 | | Rushed | 51 - 14 |
| first Quarter | |||
| Time | Team | Play | Score |
| 31:56 | | J. Dawson Behind | 51 - 13 |
| 30:28 | | R. Laird Behind | 50 - 13 |
| 28:45 | | H. McKay Goal | 49 - 13 |
| 26:40 | | L. Pedlar Goal | 49 - 7 |
| 23:48 | | B. Smith Goal | 43 - 7 |
| 20:15 | | D. Fogarty Behind | 37 - 7 |
| 18:25 | | J. Rachele Goal | 36 - 7 |
| 16:46 | | D. Fogarty Goal | 30 - 7 |
| 12:03 | | T. Walker Goal | 24 - 7 |
| 11:33 | | P. Cripps Behind | 18 - 7 |
| 7:59 | | R. Laird Goal | 18 - 6 |
| 3:49 | | C. Durdin Goal | 12 - 6 |
| 2:16 | | B. Keays Goal | 12 - 0 |
| 1:04 | | I. Rankine Goal | 6 - 0 |
Make finals, win the flag, or avoid the bottom four ... we gave each team a pass mark coming into the 2026 season. So how did every club go?
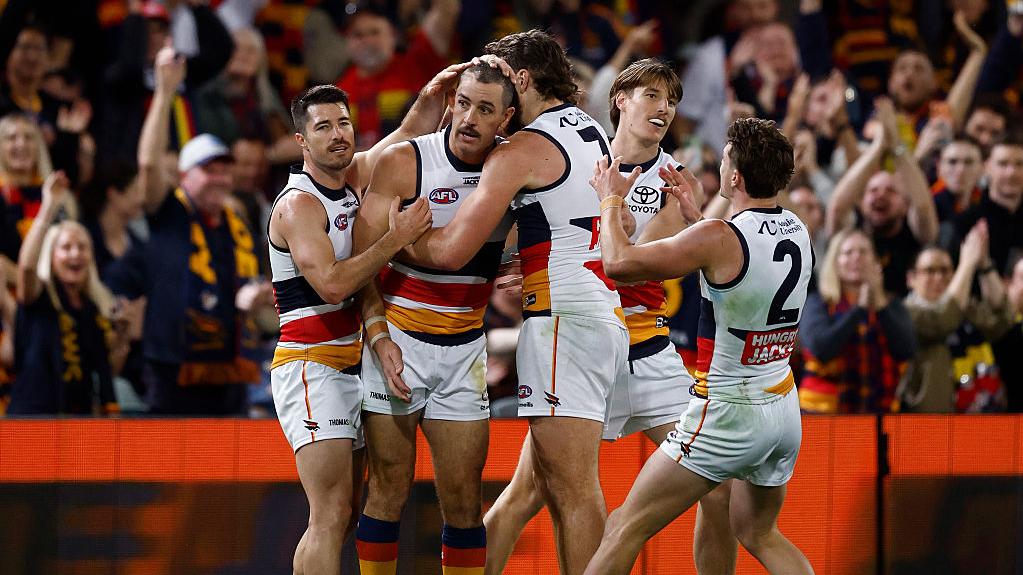
Luke Jackson went to another level when his team needed him, and Charlie Cameron produced an electrifying first half to help sink the Crows. But the Geelong coach didn't do himself any favours in press conferences. Here's whose stocks are up and down.
Taylor Walker wound back the clock in the semifinal with a long-range goal in the final quarter of his 319-game career.
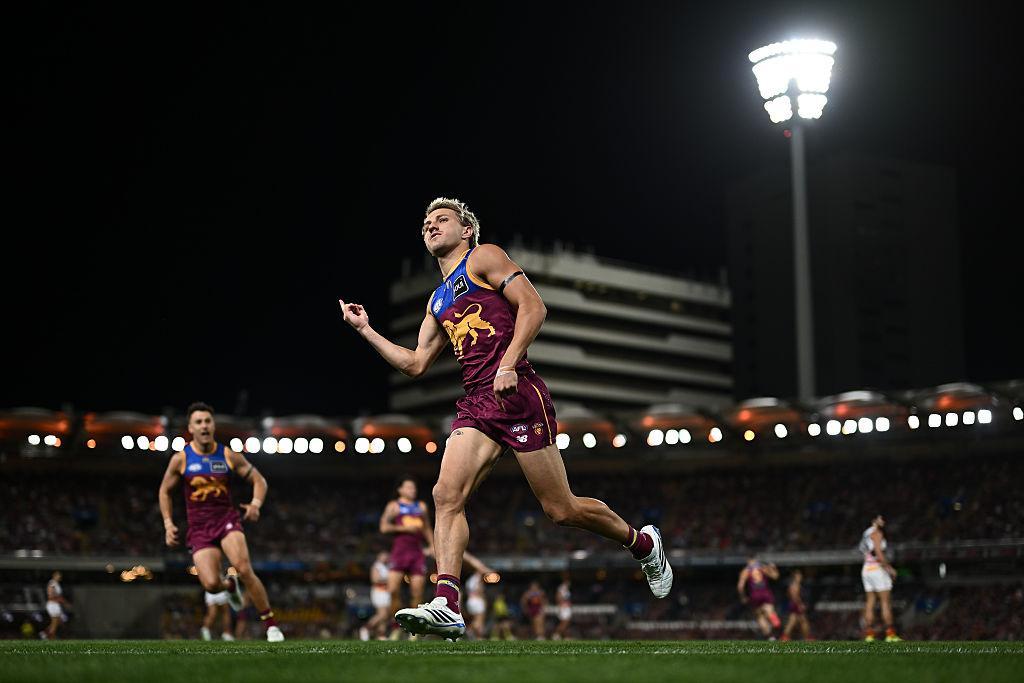
From 53-point losers to 53-point winners, nobody rebounds like Brisbane. The three-peat is firmly on track.
After a disappointing few weeks, Kai Lohmann wastes no time kicking a goal in the first 30 seconds of the second semifinal against the Crows.
Keeley Skepper dodges an opponent before nailing a shot from the boundary.
| POS | Team | Pts. | % | Form |
|---|---|---|---|---|
| 1 |
 FRE FRE
|
76 | 137.2 | WWLWL |
| 2 |
 SYD SYD
|
72 | 136.1 | WWWWW |
| 3 |
 BL BL
|
64 | 121.7 | WLWWW |
| 4 |
 HAW HAW
|
64 | 120.1 | WWLDW |
| 5 |
 GEEL GEEL
|
60 | 122.3 | WWWWW |
| 6 |
 ADEL ADEL
|
60 | 117.3 | LWWLW |
| 7 |
 MELB MELB
|
60 | 109.6 | LWWWL |
| 8 |
 WB WB
|
54 | 95.4 | WLLDW |
| 9 |
 COLL COLL
|
52 | 102.4 | WLWDL |
| 10 |
 CARL CARL
|
50 | 101.5 | WWWDW |
| 11 |
 STK STK
|
40 | 102.8 | WLLWL |
| 12 |
 GWS GWS
|
40 | 98.9 | LWLWL |
| 13 |
 SUNS SUNS
|
36 | 94.5 | LLWLW |
| 14 |
 NMFC NMFC
|
36 | 88.8 | LLWLL |
| 15 |
 PORT PORT
|
28 | 88.1 | LLLLW |
| 16 |
 WCE WCE
|
16 | 69.2 | LLLLL |
| 17 |
 RICH RICH
|
12 | 62.5 | LWLLL |
| 18 |
 ESS ESS
|
8 | 64.6 | LLLLL |